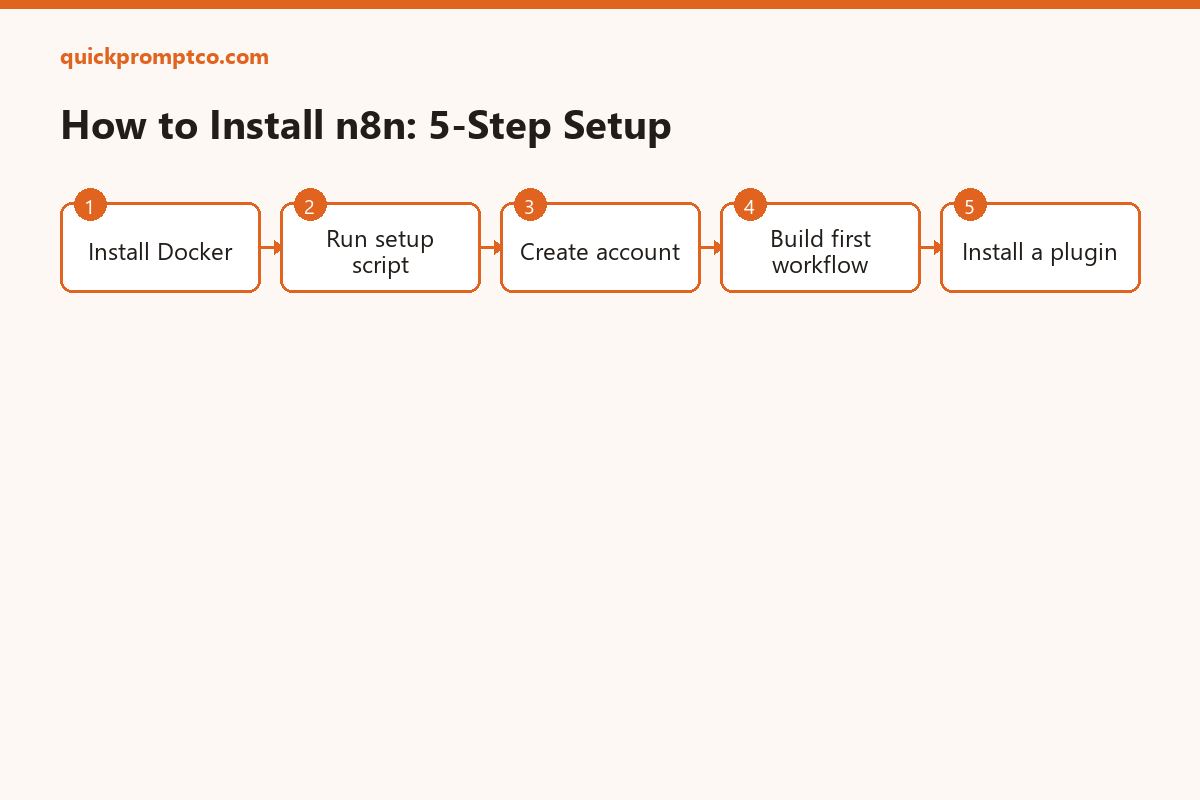
n8n is a self-hostable workflow automation tool — it connects apps, APIs, and AI models together so repetitive tasks run on their own. This guide gets you from a clean machine to a running n8n instance with your first working automation, using the same install path n8n’s own team recommends.
Quick Start
If you already have Docker installed, this single official script sets everything up — instance, config files, and a local data folder — in one run.
curl -fsSL https://get.n8n.io | shThen open http://localhost:5678 in your browser. Total time: about 10 minutes, most of it spent waiting on the Docker image download.
⚡ Copy This Prompt: Let Claude Code Install and Verify It For You
Skip Steps 1-5 below entirely and hand the whole install to the agent instead — Claude Code can run Docker and curl commands directly in a session:
You have terminal access in this project. Do the following and report back — do not tell me it's done unless step 3 actually confirms it:

1. Check Docker is installed and running: `docker --version` and `docker ps`.
2. If Docker is running, install n8n with the official script: `curl -fsSL https://get.n8n.io | sh`.
3. Confirm it worked: `docker ps` should list an n8n container as `Up`, and `curl -I http://localhost:5678` should return an HTTP 200 or redirect.
4. If anything fails, do not report success. Tell me the exact error, the most likely cause (Docker not running, port conflict, permissions), and the specific fix.The agent installs, re-checks with the same commands you’d run by hand, and only tells you it’s done once the container actually shows Up.
What You’ll Need
| Requirement | Why You Need It | Time |
|---|---|---|
| Docker Desktop | Runs n8n in an isolated container — no dependency conflicts on your machine | ~5 min |
| Terminal access | To run the setup script and check on the container | 0 min |
| A web browser | The n8n editor runs entirely in-browser once it’s started | 0 min |
| Node.js 22+ (optional) | Only needed if you choose the npm install method instead of Docker | ~5 min |
Step-by-Step Installation
Prefer to do it by hand instead of delegating to the agent? Here’s the manual version of the same steps.
Step 1 — Install Docker
~5 minDownload Docker Desktop from docker.com and install it like any other app. Open it once so the Docker engine is running in the background before you continue.
Step 2 — Run the official setup script
~3 minOpen a terminal in the folder where you want n8n’s data to live, then run:
curl -fsSL https://get.n8n.io | shThis checks for Docker and Docker Compose, generates a ./n8n folder with a compose.yml and a .env file (with a unique encryption key), then pulls the images and starts the container. It’s safe to run more than once — it won’t overwrite an existing setup.
Step 3 — Create your owner account
~1 minVisit http://localhost:5678 in your browser. n8n will ask you to create the instance owner account on first load — this is a local account stored in your own instance, not a cloud sign-up.
Step 4 — Build your first workflow
~5 minIn the editor, click Add first step and choose a trigger — Schedule Trigger is the easiest to test with. Add a second node (an HTTP Request node is a good first test), connect the two, then click Execute Workflow to run it manually before you turn on scheduling.
Step 5 — Install a community node (optional)
~2 minGo to Settings → Community Nodes → Install, then enter the npm package name of the integration you want (community nodes extend n8n beyond its built-in app list). This option only appears on self-hosted instances, not on n8n Cloud.
What Each Piece Does
| Piece | What It Does |
|---|---|
| Trigger nodes | Start a workflow — on a schedule, a webhook call, or a manual click |
| Action nodes | Do the actual work — call an API, send a message, write to a sheet |
| Community nodes | Third-party integrations installed separately from npm, for apps not built in |
| Credentials | Stores your API keys and logins so nodes can connect without exposing secrets |
| Executions log | A history of every run, so you can see exactly what happened and why |
Verify the Installation
Confirm the container is actually running, and that the web server responds:
CONTAINER ID IMAGE STATUS
a1b2c3d4e5f6 n8nio/n8n Up 2 minutes
$ curl -I http://localhost:5678
HTTP/1.1 200 OK
An Up status plus a 200 OK means n8n is live and reachable. Run the same two commands yourself:
docker pscurl -I http://localhost:5678Common Mistakes to Avoid
- Running the script from a different folder each time. This creates a second, separate
./n8ninstance instead of reusing your existing one. Always run it from the same directory. - Starting the script before Docker is actually running. Open Docker Desktop first and wait for it to fully load.
- Losing the
.envfile. It holds the unique encryption key for your stored credentials — without it, saved logins become unreadable, even if you still have the rest of the data. - Trying to install a community node on n8n Cloud. Unverified community nodes only work on self-hosted instances.
- Turning on a schedule before testing manually. Always run a new workflow once with Execute Workflow first so you can see errors before they run unattended.
Q&A
Is n8n free?
Self-hosting n8n is free under its fair-code license, with no cap on workflows or executions. n8n Cloud is a separate, paid hosted option if you’d rather not manage the server yourself.
Do I need to know how to code?
No. Most workflows are built by connecting nodes visually. Code only comes in if you use the optional Code node for custom logic.
Can I just have the agent install it for me?
Yes — that’s what the copy-paste prompt above is for. Claude Code can run Docker and curl commands directly, so it can install n8n and re-check the container status itself.
Where is my data stored?
Locally, in the ./n8n folder created by the setup script (backed by a Docker volume). Nothing leaves your machine unless a node explicitly calls an external API.
Can I move to n8n Cloud later?
Yes — workflows can be exported and imported, so switching between self-hosted and Cloud later doesn’t mean starting over.
Official Resources
- n8n Documentation — official install guides and node reference
- n8n on GitHub — source code and release notes
- n8n Community Forum — troubleshooting and shared workflow templates
If this guide got n8n running for you, follow us on X for more setup guides and prompt tips.
Follow @quickpromptco on X